


The 'bed' is the platform on which your 3D printer prints. It is important that this surface is level in relation to the extruder nozzle. A level bed is crucial in getting consistent quality prints. Depending on your 3D printer model you may have a heated bed; as the name suggests a heated bed is hot so please use care and caution when leveling a heated bed. The nozzle should be on when performing this procedure but the filament should be removed. The reason for leveling the nozzle hot is due to thermal expansion. A cool nozzle is a different length than a hot nozzle. After heating up the nozzle and removing the filament, inspect the nozzle for any blobs of filament that may interfere with this procedure and remove them.
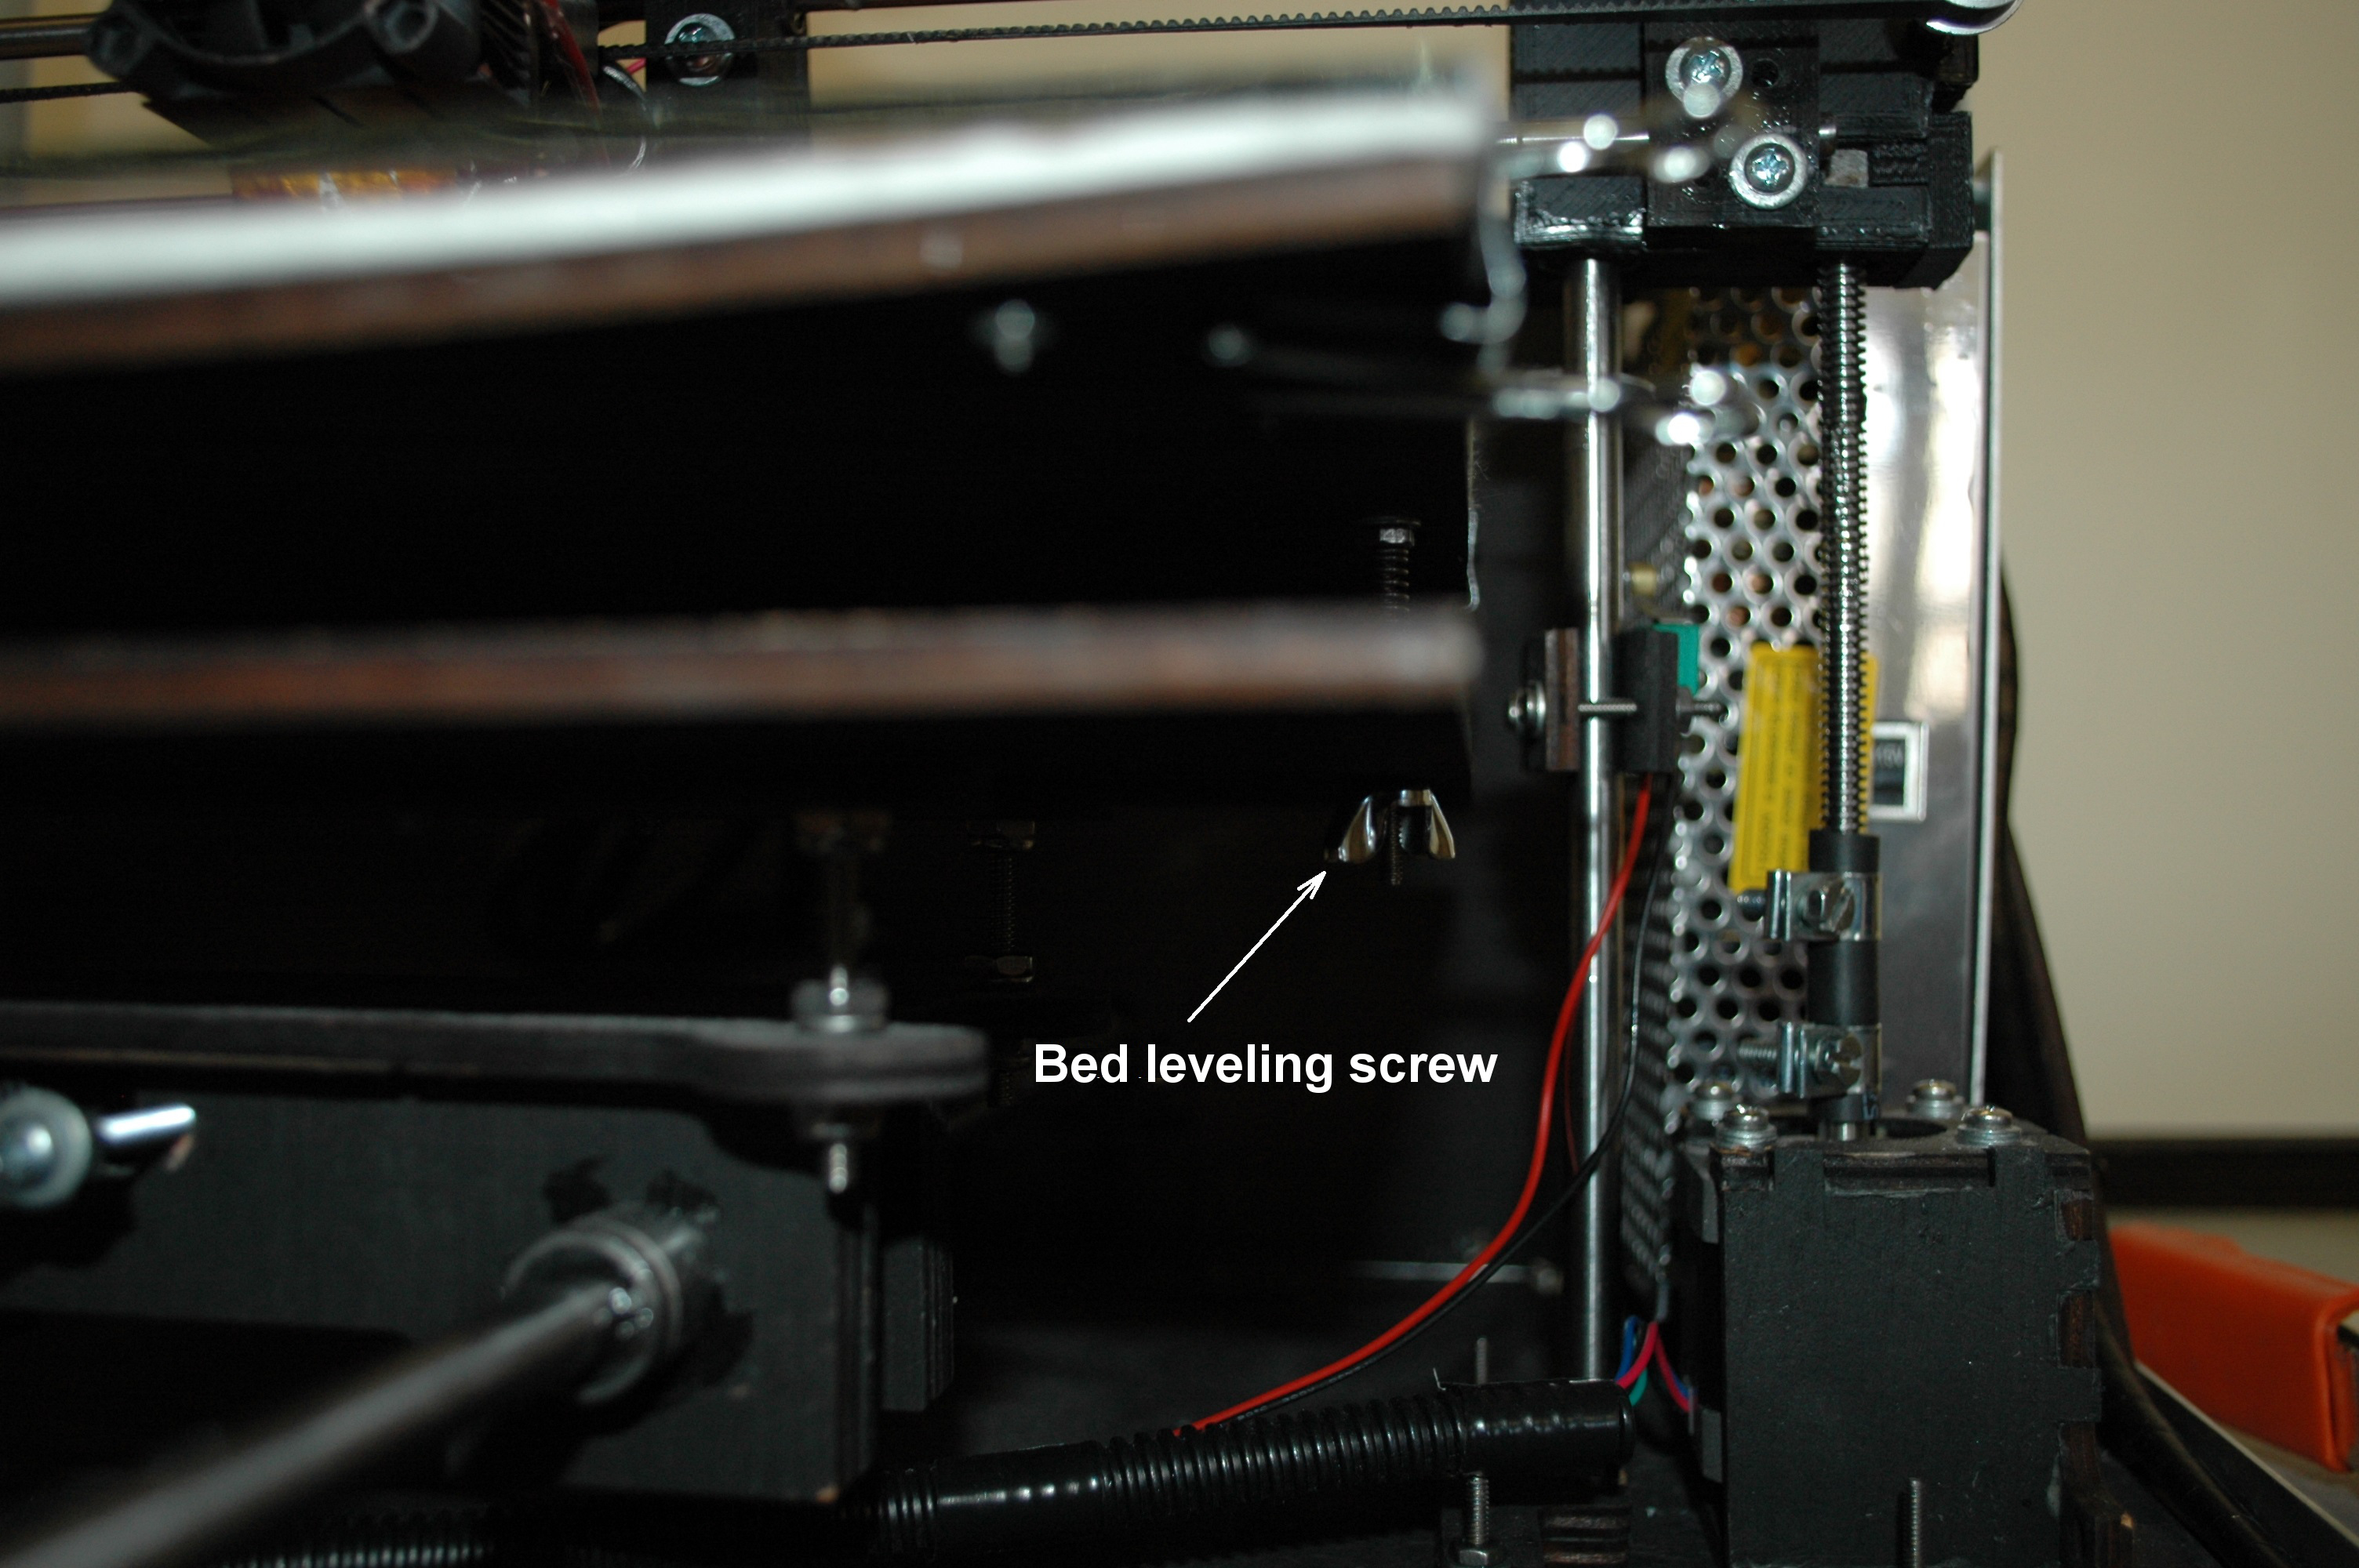
The bed has 3 leveling screws or locations. The objective is to get all 3 leveling points of the bed to within 2.5 thousands of an inch from the nozzle when the z-axis is at the home position. The best way to determine the gap is to visually see if the nozzle strikes the bed when you press the Z-Home button. If the nozzle strikes the bed it means there is no gap between the nozzle tip and the build platform. If you can see a gap between the nozzle and the bed that means the gap is too large. There are 3 spring loaded screws with wing nuts used to adjust the levelness of the bed; two on the corners of one side of the bed and the other one in the middle of the other side. Turning the leveling screw wing nut clockwise increases the gap between the bed and nozzle and turning it counter-clockwise increases the gap.
Step 1:
Position the nozzle over any one of the three bed leveling screws. Home the z-axis (note that if the bed is not level the nozzle may run into the bed when homing the z-axis) Adjust the leveling screw at this position using the wing nut to change the gap. The nozzle should not press into the bed nor should there be a gap between the nozzle tip and the bed. Raise the nozzle by 10mm ( Z-axis) and press the Z-home button again to confirm the nozzle is level to the bed. Repeat raising and homing until you get the nozzle to just barely touch the bed.
Step 2:
Move the Z-axis up 10 mm. Then position the nozzle over the next bed leveling screw location. Home the z-axis (note that if the bed is not level the nozzle may run into the bed when homing the z-axis) Adjust the leveling screw at this position using the wing nut to change the gap. The nozzle should not press into the bed nor should there be a gap between the nozzle tip and the bed. Raise the nozzle by 10mm ( Z-axis) and press the Z-home button again to confirm the nozzle is level to the bed. Repeat raising and homing until you get the nozzle to just barely touch the bed.
Step3:
Move the Z-axis up 10 mm. Then position the nozzle over the last bed leveling screw location. Home the z-axis (note that if the bed is not level the nozzle may run into the bed when homing the z-axis) Adjust the leveling screw at this position using the wing nut to change the gap. The nozzle should not press into the bed nor should there be a gap between the nozzle tip and the bed. Raise the nozzle by 10mm ( Z-axis) and press the Z-home button again to confirm the nozzle is level to the bed. Repeat raising and homing until you get the nozzle to just barely touch the bed. It may be necessary to repeat the entire procedure a 2nd time since changing the height of one position affects the height of the other two positions.
Step4 --Adjust the first layer gap:
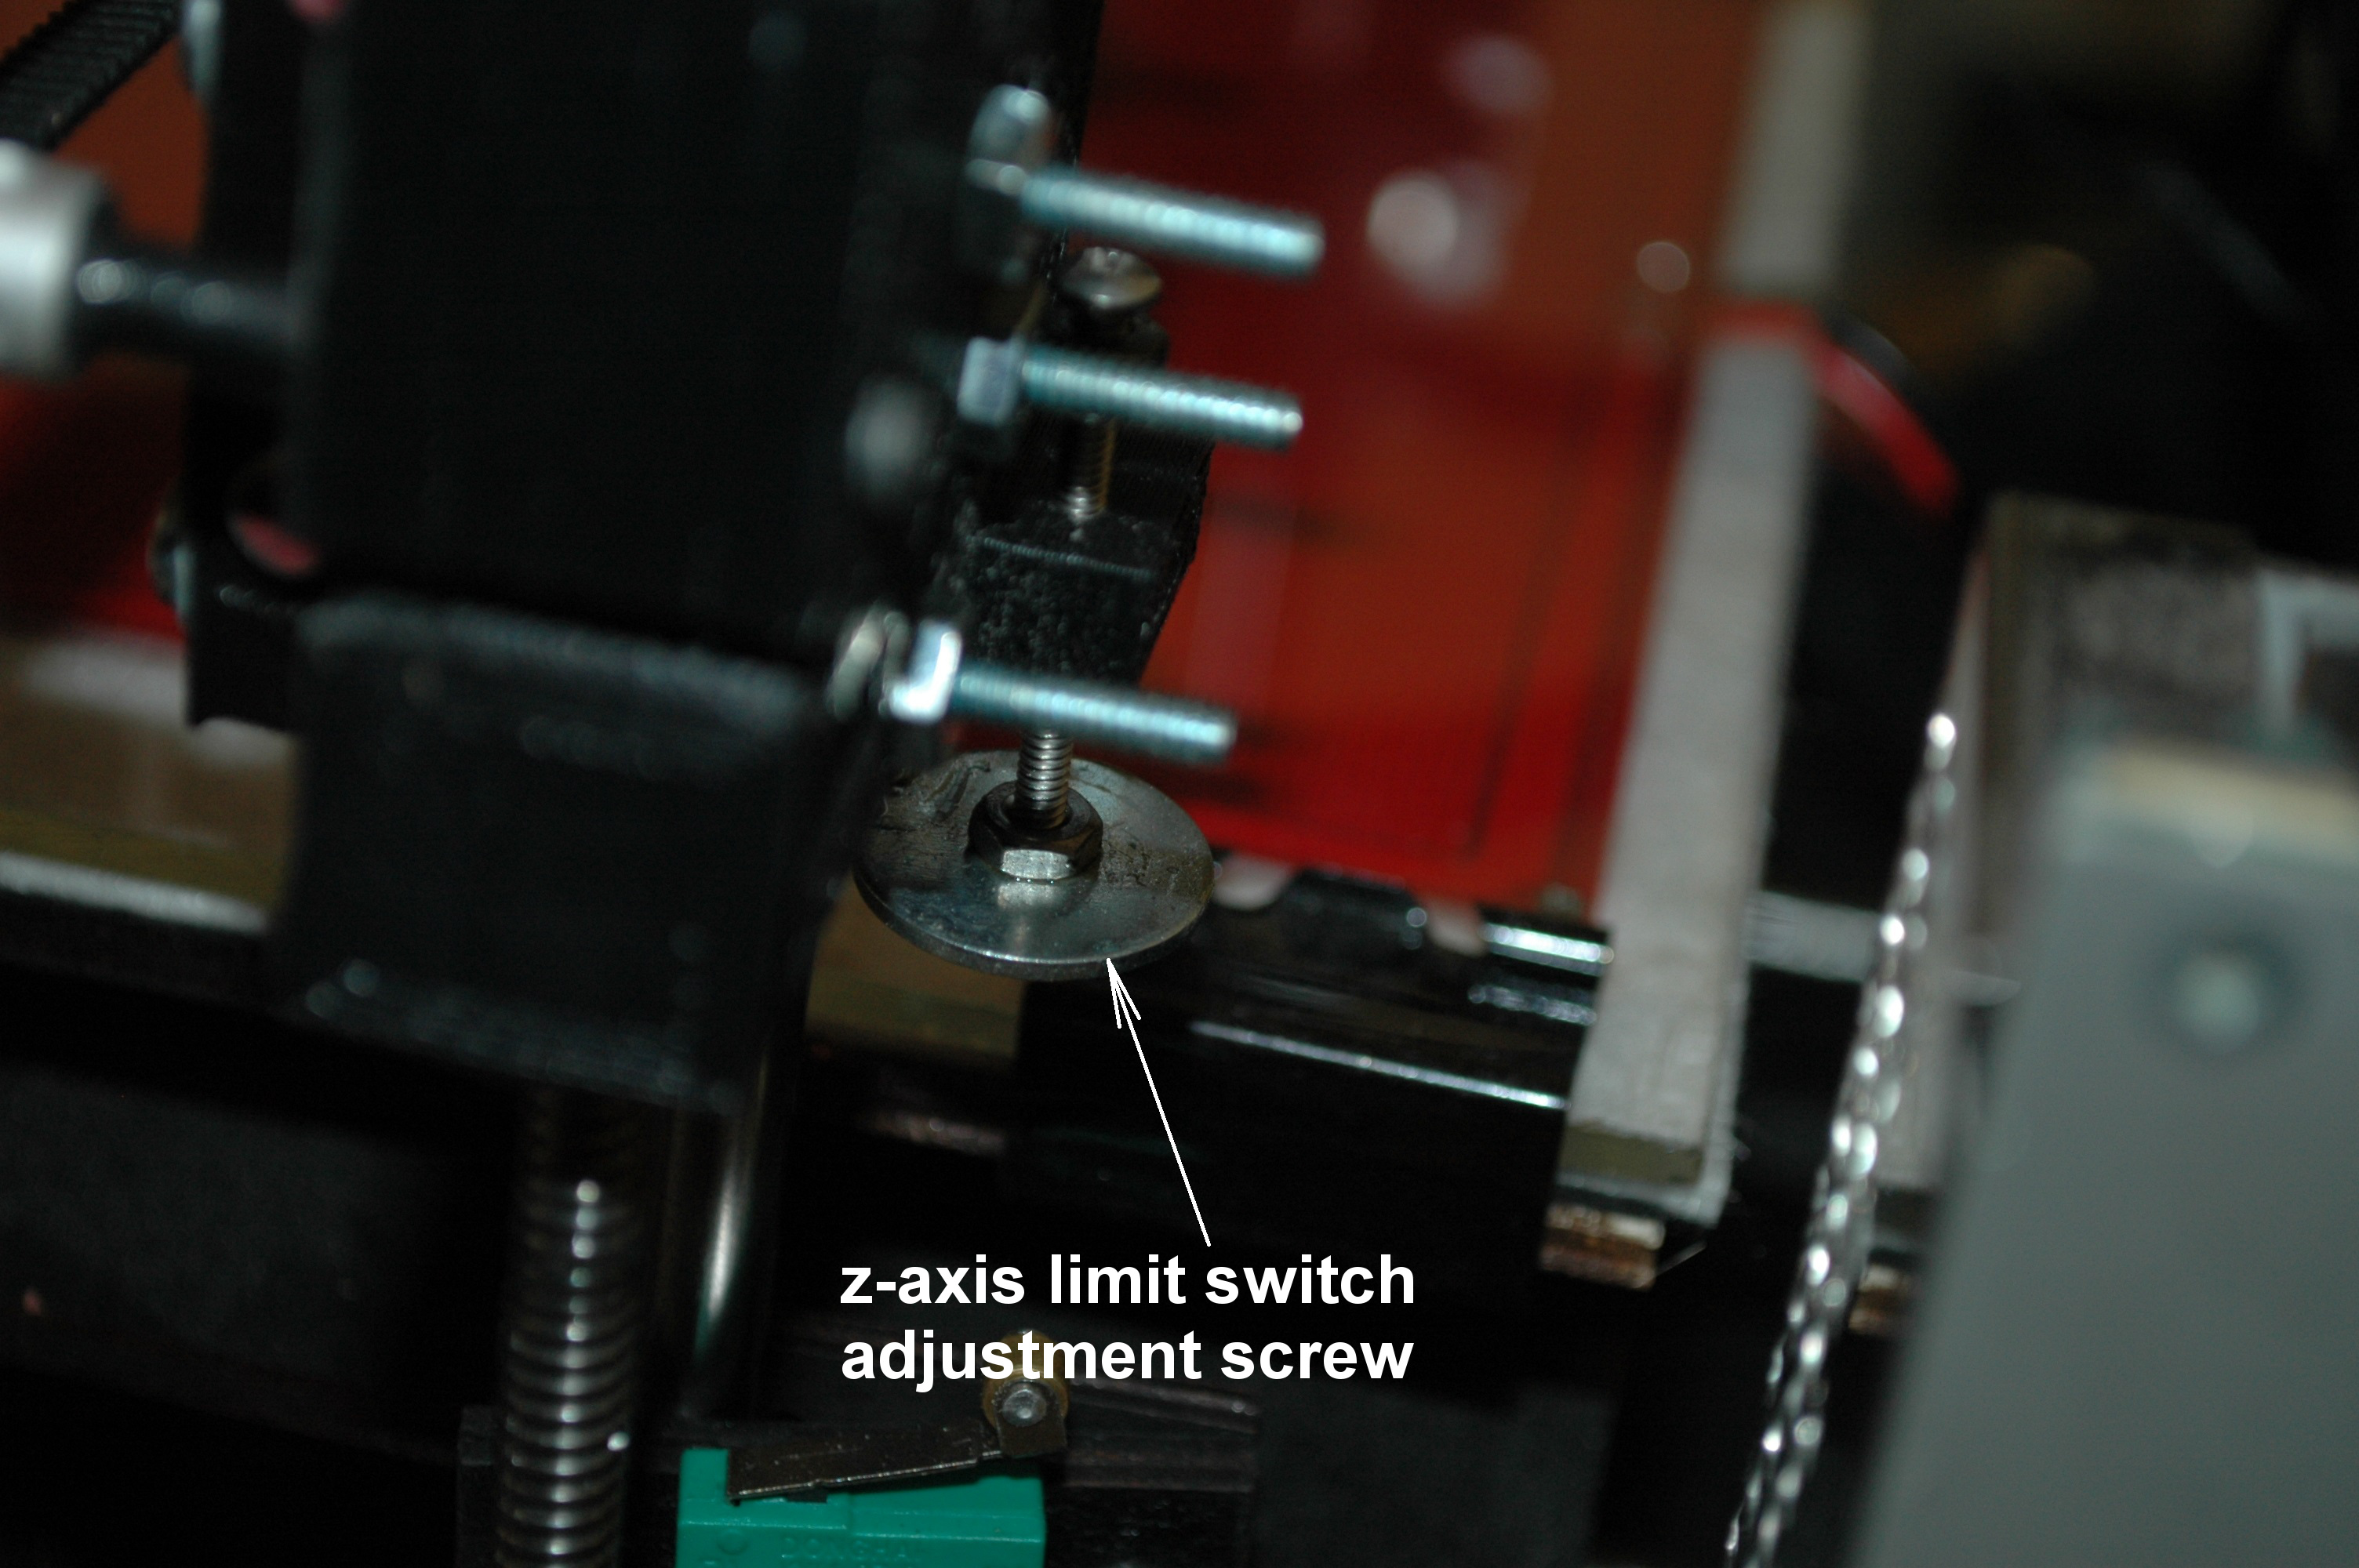
Now that you have a level bed, move the nozzle to roughly the center of the build platform and press the z home button in pronterface. Look at the nozzle as it approaches the bed. Adjust the Z-axis limit switch screw to change the gap. The nozzle should not press into the bed nor should there be a gap between the nozzle tip and the bed. Raise the nozzle by 10mm ( Z-axis) and press the Z-home button again to confirm the nozzle is level to the bed. Repeat raising and homing until you get the nozzle to just barely touch the bed. When homing the z-axis, the nozzle should just barely sit above the bed surface.
Congratulations!
If you have followed the procedure correctly your build platform is now level. Please keep in mind that this is not a one time event. Leveling the bed should be done periodically. You should level any time you remove the build plate, bump the build plate out of position or, if you are having trouble with parts sticking. If you notice the first layer is non-uniform or uneven then it's time to level your bed!
